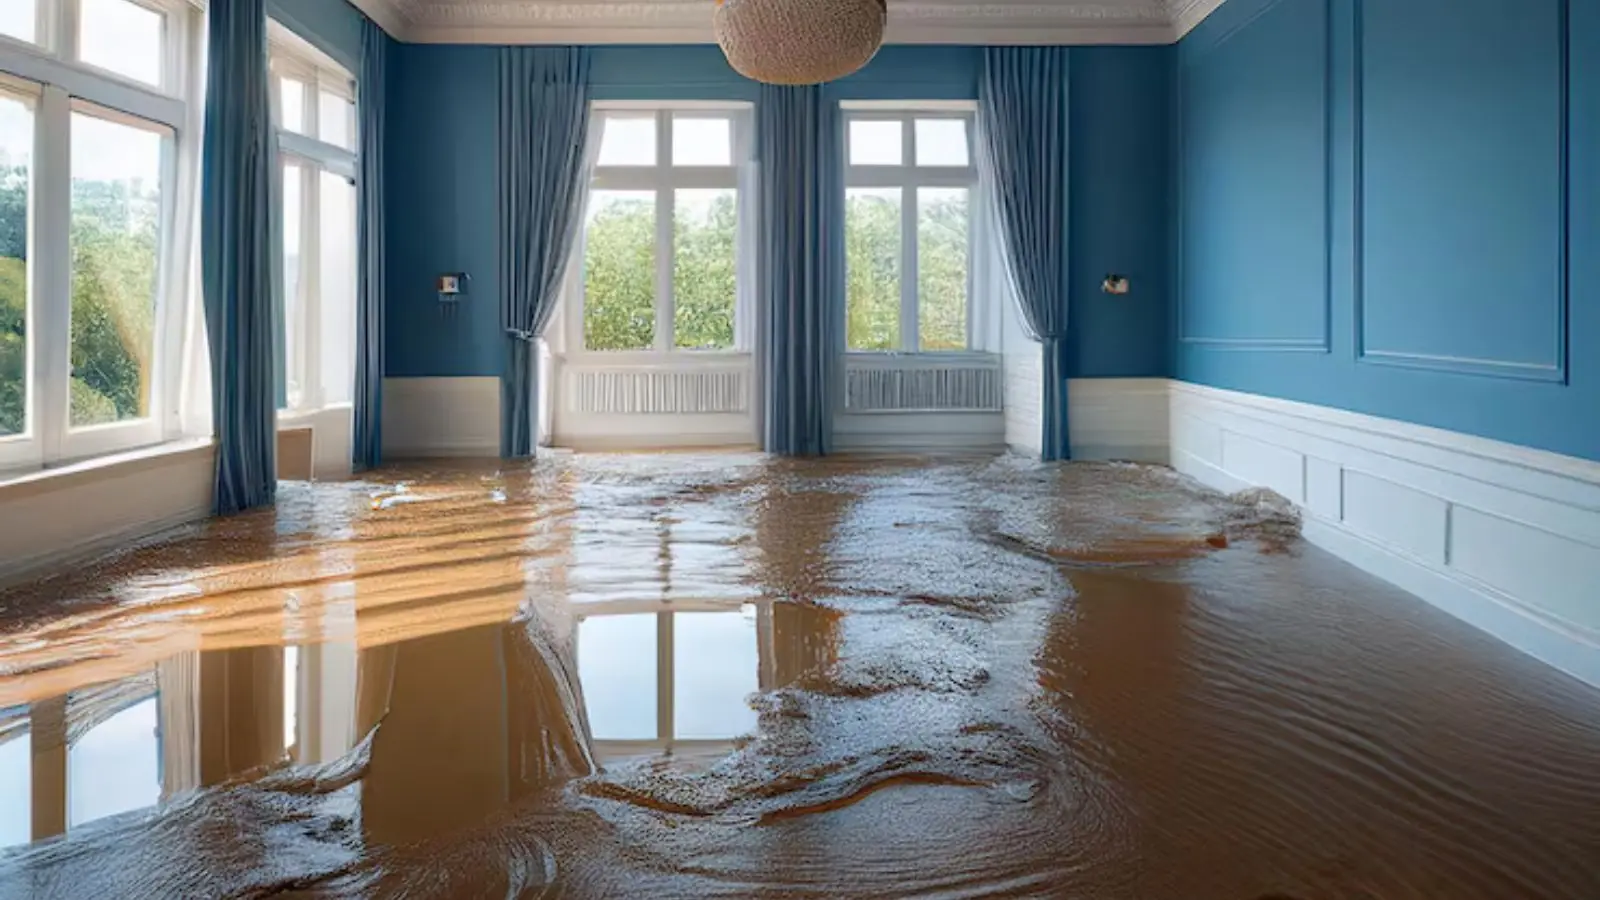
Can wet hardwood be saved?
Often, yes, if the water was clean, the exposure was short and drying starts quickly. Boards that only cup slightly may flatten as they dry and then be sanded and refinished. Boards that have buckled off the subfloor, split or turned black usually need replacing.
The deciding factor is moisture content, which a meter measures, not how the floor looks on day one. A floor can look fine at the surface while the subfloor underneath stays wet.
Cupping, crowning, buckling: what you are seeing
Cupping
The edges of each board rise higher than the center, so the surface looks like a shallow dish. It happens when the underside of the board takes on more moisture than the top. A washer valve break, a dishwasher leak or a slab that wicks moisture can all do it.
Crowning
The center rises higher than the edges. It sometimes shows up after a cupped floor is sanded before it has fully dried, so the board flattens at the surface and then keeps drying. That is why refinishing too early is a common mistake.
Buckling
Boards lift off the subfloor, sometimes by an inch or more, and may pop at the joints. Buckling usually means a large amount of water and a long exposure. Floors in this condition often have to come up to dry the subfloor properly.
Water still spreading? The dispatch line is open 24 hours a day.
☎ Call (562) 271-5850What to do and what not to do first on wet hardwood
Do not use a household steam mop or a heat gun to speed drying, because both can push moisture deeper and damage the finish. Do not walk on a soaked floor in heavy shoes, and do not nail down boards that are cupping.
Do wipe standing water right away, lift rugs and furniture legs off the surface, and keep the room ventilated. Photograph the floor before anything changes.
How the drying works
Drying hardwood is slow on purpose. Forcing heat on it can crack boards, so crews use controlled airflow and dehumidification. Specialty drying mats pull moisture from the board faces through small vacuum ports, and air movers push dry air across the surface.
Technicians check moisture content in boards and the subfloor with a meter, and they compare the numbers against a dry reference piece. The floor is not dry just because it feels dry. Readings should match before anyone sands or finishes, and this is part of water mitigation before any repair work starts.
Dry, sand and refinish, or replace?
The choice depends on how far the damage went. The table shows the usual dividing lines.
| Condition | Likely path | Why |
|---|---|---|
| Slight cupping after a short, clean-water leak | Dry in place, then sand and refinish | Boards often relax as moisture leaves |
| Heavy cupping, gaps at seams, finish whitening | Dry with mats, reassess after readings | Some boards may need replacing at the worst spots |
| Buckling off the subfloor | Remove affected boards, dry subfloor, replace | Boards will not reseat once they have lifted |
| Black staining, soft or crumbling wood | Replace | Wood fibers have broken down |
| Water from a sewer or flood source | Remove and replace | Contaminated water soaks into porous wood |
A general guide only. A moisture meter and an on-site look decide each case.
Repair steps once the floor is dry
- 1Confirm dryness. Readings in the boards and the subfloor should match the dry reference. Sanding sooner can lock in problems.
- 2Replace damaged boards. Cut out the worst boards and weave in new ones. Matching species, width and age is the hard part, so ask to see samples.
- 3Sand, stain and finish. A full-room sand blends repaired spots with the rest of the floor. Finishes need curing time before furniture returns.
- 4Reinstall trim. Baseboards and shoe molding come off for drying and go back on at the end.
Scope and price are explained before work starts, and the final repair is easier to plan after water damage repair has been scoped against the dry floor.
Why older homes need extra care
Older buildings often have solid or narrow-strip hardwood laid over plank subfloors, sometimes with several layers of finish and old adhesive. Moisture can hide in the gap between the flooring and the subfloor, and under baseboards and old thresholds. Older supply lines and shutoff valves may also fail more often.
Tell the technician the age of the house and any previous repairs. It changes how the subfloor is checked and what is safe to sand, since old finishes and adhesives change what is safe to sand.
Floor registers, toe-kicks and closet thresholds are good places to look for hidden moisture. If you see staining at any of them after a leak, mention it, because the water may have traveled further than the visible puddle.
What affects the repair cost
Costs vary, and any honest number depends on a visit. The main factors are the water category, the square footage affected, the species and thickness of the wood, how many days of drying equipment the job needs and the scope of the rebuild. Whether the subfloor needs replacing adds another variable.
Insurance may respond to sudden water loss and often does not respond to a long-term seep, so check your policy. Want your real number? Call and describe the loss, and the scope and price are explained before work starts.
Mistakes that turn a saved floor into a lost one
The most common mistake is sanding too early, before the boards and subfloor are dry. A second is covering the floor with plastic or a rug, which traps moisture against the wood. A third is running a space heater or cranking the thermostat, because fast, uneven drying can crack and split boards.
Another is skipping the source. If a dishwasher line or a fridge supply tube is still weeping, new boards will cup again. Fix the leak first, dry the floor second and repair last.
Nearby homes, similar floors
Wet-floor calls come from neighborhoods like Norwalk and Downey too. The cause is rarely exotic. A leaking dishwasher line, a fridge supply tube or a slow sink leak starts most of them.
Old wood and old buildings in town
Santa Fe Springs keeps several older structures on its historical list. Heritage Park on Mora Drive has a Carriage Barn museum built in 1880 and rebuilt in 1987 from photographs, and the Clarke Estate was built in 1919 as a home around a central courtyard. Buildings of that age show how long wood framing and flooring can last when moisture is kept out.
For a homeowner, the takeaway is practical. If your house is older, assume the floor system is different from a new build, and mention the age when you call. Ask the technician to read moisture in the subfloor and under the baseboards.
Source type: City of Santa Fe Springs historical points of interest page and Heritage Park page
Frequently asked questions
Until moisture readings in the boards and subfloor match dry reference readings. That can take days to weeks, depending on the wood and the water.
Refinishing too early can lead to crowning or new gaps.
The underside of the boards took on more moisture than the top surface. Common sources are appliance supply lines, a leaking dishwasher, plumbing in a wall or moisture rising from a slab.
A meter and an inspection find the source.
Fans move air but do not remove moisture from it, and a closed room with a fan can just recirculate humid air. Professional air movers and dehumidifiers work as a system.
They also keep records of readings, which help with insurance.
Whitening in the finish often signals moisture that reached the surface. Underneath, the boards may be wet too.
Have the moisture content checked before deciding.
Older construction can have layered flooring, plank subfloors and hidden voids, which slow drying and hide moisture. Ask the crew to check under trim and at thresholds.
The age of the building is worth telling the technician.